
This post was inspired by Briebug’s post
I’ve been listening much about the micro frontend concept lately. A lot of companies are adopting this solution as a way to make the apps smaller and easier to deploy.
Table of contents
Open Table of contents
- But, what’s micro frontend?
- What do we need to create a micro frontend app?
- Nice! And what do we’re going to do?
- Let’s create the project then
- Setting the Angular Module Federation
- Add some style to the remote component 🐉
- Let’s add a route to load de remote app
- Almost there!
- Time to see the result
- Curious about the code?
- That’s all
But, what’s micro frontend?
According to the micro-frontends website:
The idea behind Micro Frontends is to think about a website or web app as a composition of features which are owned by independent teams. Each team has a distinct area of business or mission it cares about and specialises in. A team is cross functional and develops its features end-to-end, from database to user interface.
That’s cool! With a micro frontend, we can split an application into smaller pieces that focus on solving a specific problem. It’s perfect for companies that need to work with dedicated squads at specific parts of the product, like a cart or checkout module, for instance.
This approach allows the squads to work with individual deploys and different stacks, without worrying about other projects that compose the entire solution.
What do we need to create a micro frontend app?
To compose a micro frontend app, we’ll just need to have two kinds of applications:
Host
It’s an application that will load the remote applications. We can have only one host app. This app can be called a shell as well.
Remote
It’s an application that’ll be loaded by the host application. We can have several of these apps. Generally, remote apps are small pieces of an application. Relevant modules that need some more attention and care.
Nice! And what do we’re going to do?
In this post, we’re going to do a micro frontend application using the amazing Angular Module Federation module and Nx to create and manage the project’s workspace.
If you’ve never heard about Module Federation, check out this post .
Let’s create the project then
On the terminal, just type the command below and generate an Angular application.
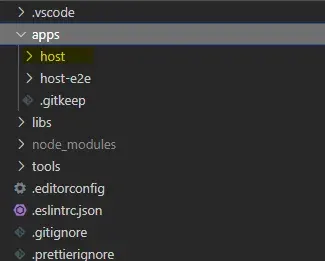
npx create-nx-workspace@latestOn the “application name” question, set the host as a name. That’ll be the host application.
After that, you should have one app called host inside the project’s workspace.
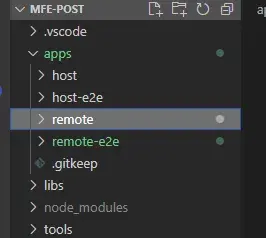
Now, let’s create a new app called remote.
nx generate @nrwl/angular:application remote --port=5001If everything worked fine, you’ll have a new app inside the workspace.
All good?
Perfect! In the next steps, we’re going to transform these two apps into an amazing micro frontend solution.
Setting the Angular Module Federation
It’s time to add the Angular Module Federation to our project.
Let’s type the following command on the terminal:
nx generate @nrwl/angular:setup-mf host --mf-type=host --routingThe following changes have been made inside the host app:
- A file called module-federation. config has been created
module.exports = {
  name: "host",
  remotes: ["remote"],
};- The bootstrap file contains the main’s content file.
- The main file loads the bootstrap file using an async import
The host app has become a shell app now - which means this app will be able to load remote apps.
Good, let’s transform the remote app into a micro frontend app as well.
Run the following command on the terminal:
nx generate @nrwl/angular:setup-mf remote --mf-type=remote --host=host --routingNow, just notice the remote app. Inside the app folder, we have now a new folder called remote-entry, and inside of it, there’s an Angular module called RemoteEntryModule. This module will allow us to load the remote app inside the host app.
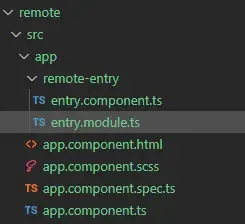
The entry.module.ts file should contain this content:
@NgModule({
  declarations: [RemoteEntryComponent],
  imports: [
    CommonModule,
    RouterModule.forChild([
      {
        path: "",
        component: RemoteEntryComponent,
      },
    ]),
  ],
  providers: [],
})
export class RemoteEntryModule {}
The RemoteEntryComponent will be the component that’ll be loaded inside the host app.
Add some style to the remote component 🐉
I think that’d be good to make some changes to this component for it to look nice.
Don’t worry! We’ll just add a simple style to this.
@Component({
  selector: "app-entry",
  template: `
    <div class="container">
      <span>I'm a remote app :)</span>
    </div>
  `,
  styles: [
    `
      .container {
        border: 1px solid green;
        padding: 24px;
      }
    `,
  ],
})
export class RemoteEntryComponent {}
Cool!
Let’s add a route to load de remote app
Now, inside the host app, let’s add a route to load the remote app.
Add a file called app-routing.module.ts inside the app folder, with the following content:
const routes: Routes = [
  {
    path: "remote-app",
    loadChildren: () => import("remote/Module").then(m => m.RemoteEntryModule),
  },
];

@NgModule({
  imports: [RouterModule.forRoot(routes)],
  exports: [RouterModule],
})
export class AppRoutingModule {}
Have you noticed? The route remote-app will load the remote/Module path. It’s a file that webpack will create using the configuration file module-federation.config inside remote app.
Oh! We can’t forget to import the routing module into the AppModule.
@NgModule({
  declarations: [AppComponent],
  imports: [
    BrowserModule,
    AppRoutingModule, // here
  ],
  providers: [],
  bootstrap: [AppComponent],
})
export class AppModule {}
Almost there!
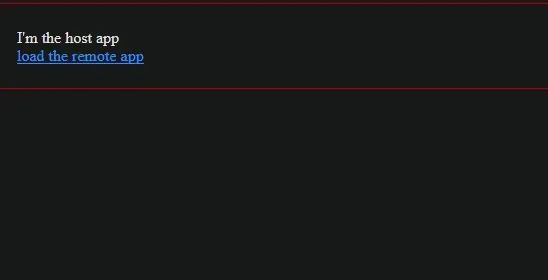
To finish the app, let’s change de AppComponent’s template to something better
<div class="container">
    <div>I'm the host app</div>

    <a [routerLink]="['/remote-app']">load the remote app</a>

    <router-outlet></router-outlet> // the remote app comes here
</div>
.container {
border: 1px solid red;
padding: 24px;
}Time to see the result
Well, now it’s time to see the micro frontend application running. 😎
Run the command below on the terminal:
nx run-many --target=serve --allAccessing the host app we’ll see the following page:
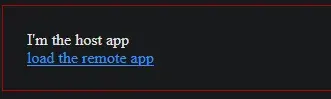
When we click on the load the remote app link, the host app will load the remote app using the /remote-app route
We made a micro frontend app! That’s awesome how easy it was, isn’t it?
Curious about the code?
You can find the source code of this app on my Github.
If you’re curious to see the app running, I’ve deployed this to production. Check out the app here!
That’s all
I’ve spent some time writing this post, then, I hope that you’ve enjoyed it!
Don’t hesitate to share this post with your friends - I know that content can be helpful for lots of people.
Thank you for the reading. 😄
Bye! 👋🏼